
MINI R50/R53 Car Stereo DISABLED Message Fix
Written on 25 April 2020 by R Hill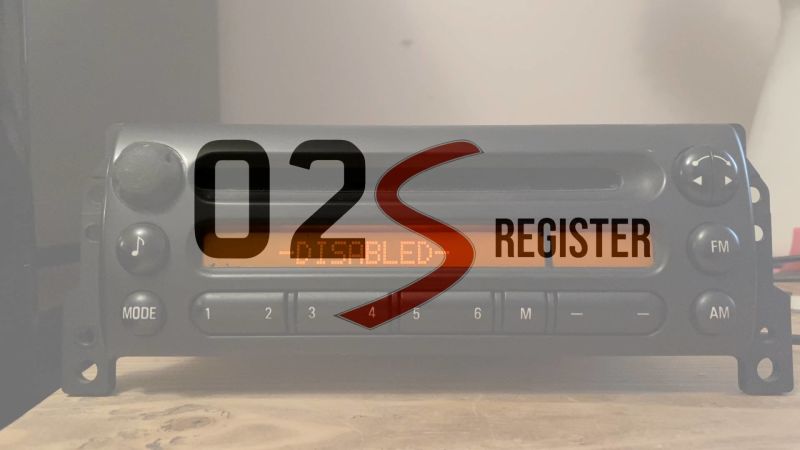
Unlike many older car stereos that require a code to unlock them, the MINI car stereo will enable itself when plugged into any MINI, or BMW for that matter. It does this by listening out for messages on the car's I bus. The I bus is incredibly busy with messages flying around all of the time, this means the stereo becomes enabled as soon as the ignition is turned on.
However, things can sometimes go wrong and your stereo will permanently display the DISABLED message. If this happens then there are a couple of causes that I am aware of. Neither of which are simple to fix! The first is that the I Bus messages aren't getting to the stereo. You can check the connections in the back of your stereo, paying particular attention to the white, red and yellow I Bus wire. In reality because of the way the stereo block connects it is unlikely to be this. If you've got issues with your I bus wire elsewhere then you've probably got bigger problems. The second fix really falls into the I did it because I could and not because I should kind of job!
My stereo became DISABLED after my car battery was playing up. After being stood for a couple of days the car would struggle to start due to lack of charge in the battery. This caused all sorts of flashing on the dashboard whilst the car started as the cars electrics struggled to cope with the lack of charge. I deduced that somehow the stereo had become damaged inside and relegated it to the brick pile. However, whilst doing some investigation into the I Bus I decided it was likely the I Bus communication transceiver chip that was damaged. I had a failed cassette player from an earlier blue tooth conversion that didn't work out and thought I'd give it a go at replacing this chip on my DISABLED CD Player.
This video shows the fixed stereo on my desk connected to my development I Bus and the chip replacement being done. For anyone who fancies giving this a try it's the ELMOS 10020B chip that needs replacing. Depending on which stereo you have this chip will be in a different location on the board.
To remove the surface mounted chip you need to flood the connectors with solder and then keeping your iron hot enough to melt all the solder at once run it up and down the connections. As soon as all of the solder is in a molten state the chip will lift from the board. You can then clean up the connections of solder and carefully position the replacement chip onto the board, re-soldering the connections and securing the chip and connections in place. I've not done anything like this before and was surprised at how simiple it was.